
I have to admit I don't need much of an excuse to make and have pretty things on my desk and the imminent start of the new school year is no exception - even though personally I won't be going back to school!
Today I have a planner to share with you that would be ideal for managing homework as well as To Do Lists, Craft Ideas Lists (which is what mine will be used for) or any other planning that you wanted to do.

It also has the added benefit of being just the right size to take A5 Filofax inserts. You could of course also make your own insert pages and have just the planner you want or need.

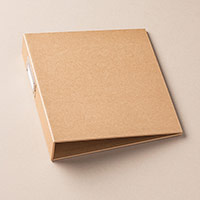
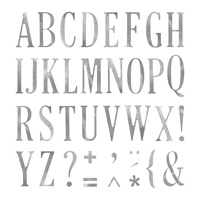
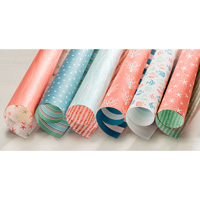
The basis of the planner is a Kraft 6x8 inch Project Life Album which you can purchase here. I have decorated the front using a piece of patterned paper measuring 8 1/4 x 8 1/2 inches (21 x 21.5 cm). I inked the edges and decorated it with my chosen letters before sticking it to the album cover.

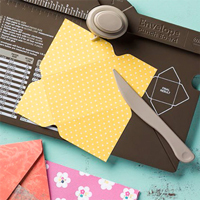
Next I made some dividers. Each is a piece of coordinating cardstock measuring 7 1/4 x 8 1/4 inches (18.5 x 21 cm). Using the Envelope Punch Board I punched notches along one of the long edges of the card. I punched at 1 and 3 inches for the outside two dividers and then at 3 inches from each end of the middle divider. You can of course make your tabs as big as you like and space them how you think will work best for you. Once I had punched the edges of the notches I cut away the rest of the card along that edge.
The bookmark was made by taking a 4 x 9 5/16 inch (10 x 22 cm) piece of patterned paper and folding it in half. I stuck the open side together and then used the Envelope Punch Board to punch out the top of the marker. Alternatively you could use a corner rounder.

Finally I used a hole punch to make the holes for both the dividers and page marker to go into the folder - I used a piece of Filofax Paper as a guide since I had one to hand but you could just line your paper up in the folder and mark where to punch your holes.
If you would like to see more Back To School Crafting Ideas check out this series of videos.
Happy Stampin'

If you would like to place an order please visit my on line store at www.bekka.stampinup.net. Please show your support by using the current hostess code shown on the right hand side of this blog and a thank you gift will follow in the post
Supplies used:


No comments:
Post a Comment